NoMachine Client Setup
NoMachine NX (Multi-OS)
NoMachine provides a Linux desktop session via the NoMachine client without having to run X11 servers on your desktop.
Installation
Installation of the NoMachine client starts with download of the installer from NoMachine. Choose the version for your OS and follow the instructions provided by NoMachine.
Configuration
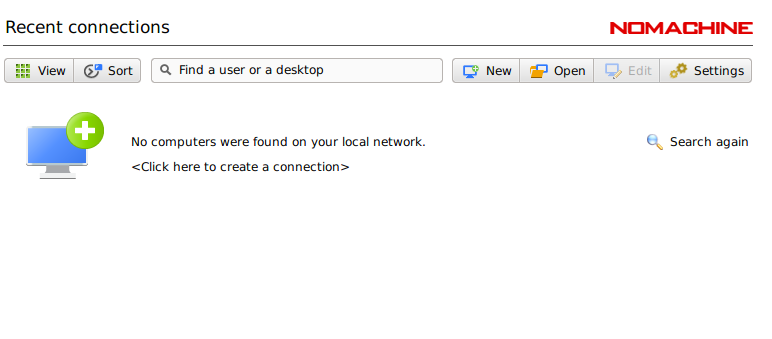
Start the NoMachine client. If this is the first time opening the client, you will have no existing connections and will need to create a new one. Clicking the “new” button will take you through a wizard for creating this new connection:
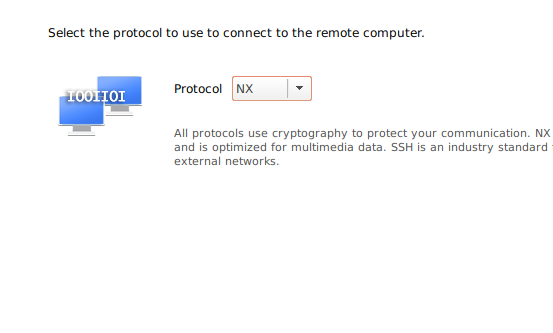
For “protocol”, use the default (NX) and click the “continue” button.
For “host” you need to select one of the rhino nodes- don’t use the “rhino” alias. In this example I’ve chosen “rhino03”. “rhino01”, and “rhino02” are the other options here:
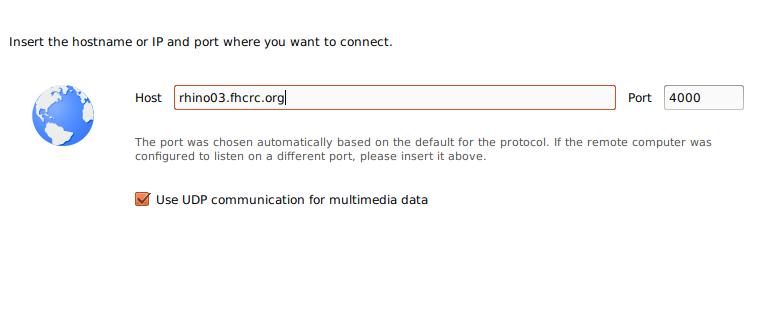
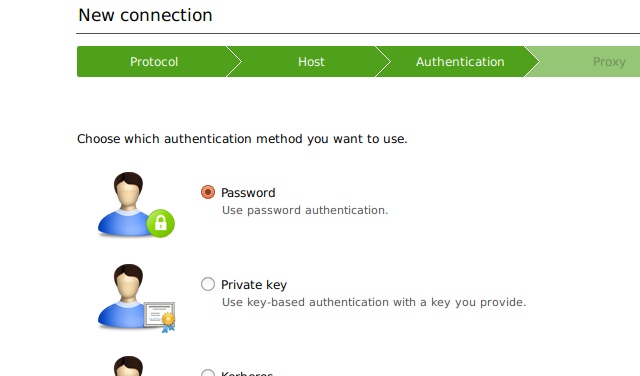
Leave the other options as-is (port 4000 with “use UDP”) and click “continue” to get to the “Authentication” configuration. Here select “Password” and “continue”.
which will take you to the “Proxy” configuration. Again, use the default (“Don’t use a proxy”). Click continue and name the connection- this name isn’t important and the default is usually fine.
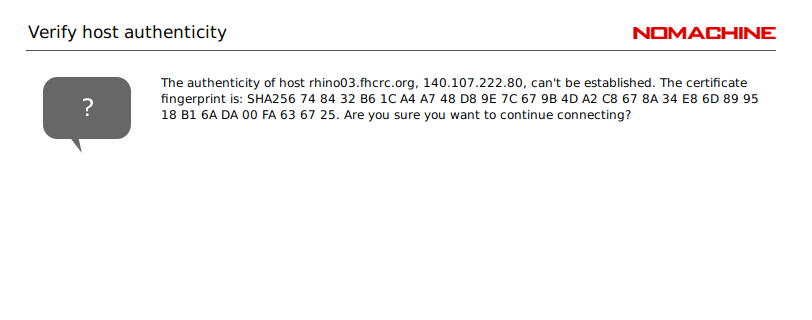
Click “done” here. This will present the “Recent connections” screen where you can now open this newly created connection. Double click to start the process. If this is the first time you have connected to this host you may be presented with a warning:
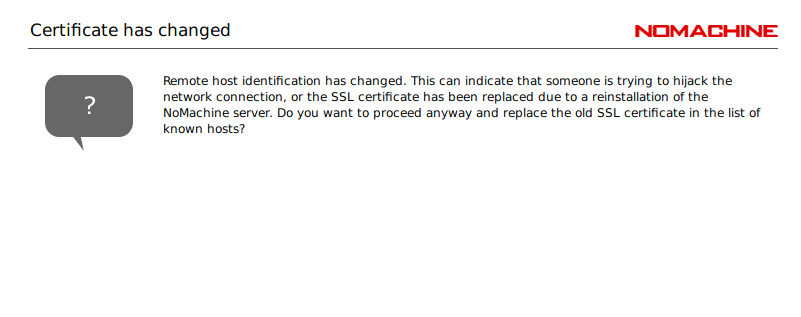
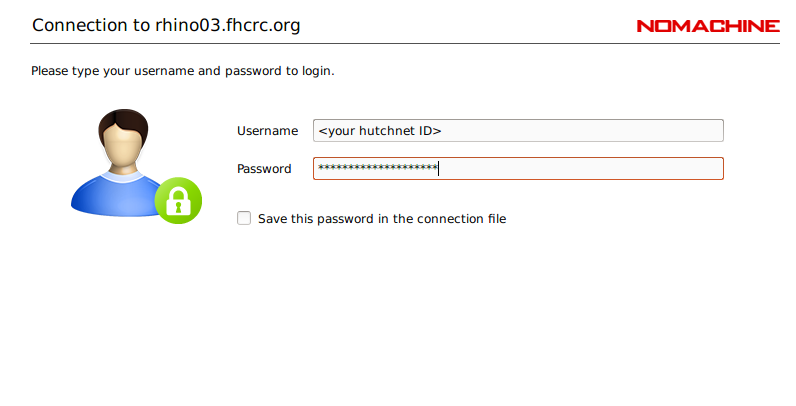
These warnings can typically be ignored- click yes to continue on to the login screen:
Finally you will be asked whether to create a new virtual desktop or a custom connection- choose the former, “create new virtual desktop”.
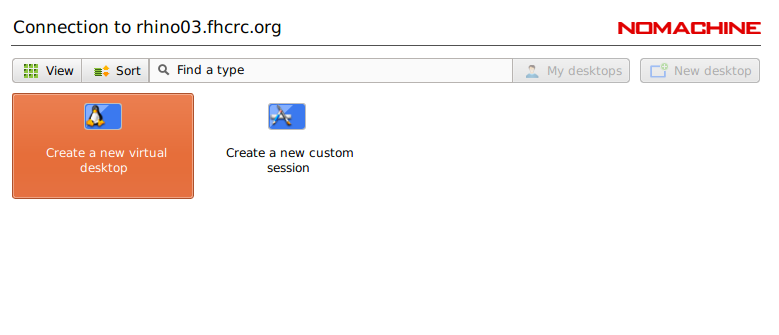
This will create a new Linux desktop session.
Other Methods for Connecting
Custom Sessions
You can now run X11 based software in a NoMachine session without launching a full desktop session. This is still something of an experimental feature, but thus far seems to work well.
A custom session has a number of different options. For this example we’ll run a single X client to create a terminal on the NoMachine server. When you select the “custom session” option above, you’ll have an option to “run the following command”. In the field following that radio button enter mate-terminal. To have the command run in a window without the full desktop, make sure that “Run the command in a floating window” is selected.
With these options you’ll get a window on your desktop with a prompt on the NoMachine server you’ve connected to. This connection will persist even if you stop the NoMachine client on your computer.
Contact Scientific Computing if more help is required
Browser Based Access
There is now support for sessions in a browser window. This is a rather more experimental feature. For these style connections point a browser to a URL:
- https://rhino01.fhcrc.org:4443/nxwebplayer
- https://rhino02.fhcrc.org:4443/nxwebplayer
- https://rhino03.fhcrc.org:4443/nxwebplayer
You will be prompted to enter your username and password. There are options for both virtual desktop and custom session that function much as the full client does.